We are making a Fall wreath from nature using unique dried materials gathered from our property. I refer to this as wildcrafting and wrote about it here last year.
I have been wanting to make a wreath for our door, but I couldn't seem to get motivated. Do you ever run into that, where you want to do something, but the desire is weak.
Perhaps it is because years ago before kids I was a florist. I made so many wreaths that after a while you lose count. I worked in all aspects of the business, and my favorite
was probably the silk and dried floral arranging because there were no
limitations.
Floral designing was a good fit for my creative spirit in those days. There was never a dull moment in any season and unleashing a design is always fantastic.
This wreath project was an enjoyable way to spend time putting things together and it is easy enough for you to make your own.
I will walk you
through how to do that and would like to recommend gathering “like” materials where you live.
Fall Wreath Supply List
- Grapevine wreath any size you like
- Your favorite ribbon
- Hot glue gun and wire
- Wire cutters and clippers
- Pinecones and needles
- Fall materials like a leaf or two
- Tree branches
- Additional neat things you gathered from the outdoors
When you have everything together choose a space with room to spread out. You are going to make a mess so maybe lay a tarp on the floor so clean up is less difficult.
Additional Branches
I used a store-bought grapevine wreath because it was easier. I also like that natural vibe they present as they work beautifully with gathered materials.
I clipped several twig branches that I knew could be added to the base and sort of set the stage for the rest of the project.
I simply placed them around the wreath to see where they would look the best and then hot glued both together.
When the glue dried, I wired them in addition to the glue because this project is going outdoors.
Adding Ribbon and Natural Material
Now this is where things get fun; the next step was to add ribbon. I made a simple bow without a center loop and then hot glued towards the upper left.
Make sure you allow some ribbon to trail so you can let the tails glide and be glued in place.
From there I hot glued the pinecones around the bow in addition to a few fall leaves. Those leaves will curl in a couple days which looks even better. You might decide later to go back and add a couple more.
I had some curly grass and a few other dried weeds that pulled this wreath together, so it had a nice flow.
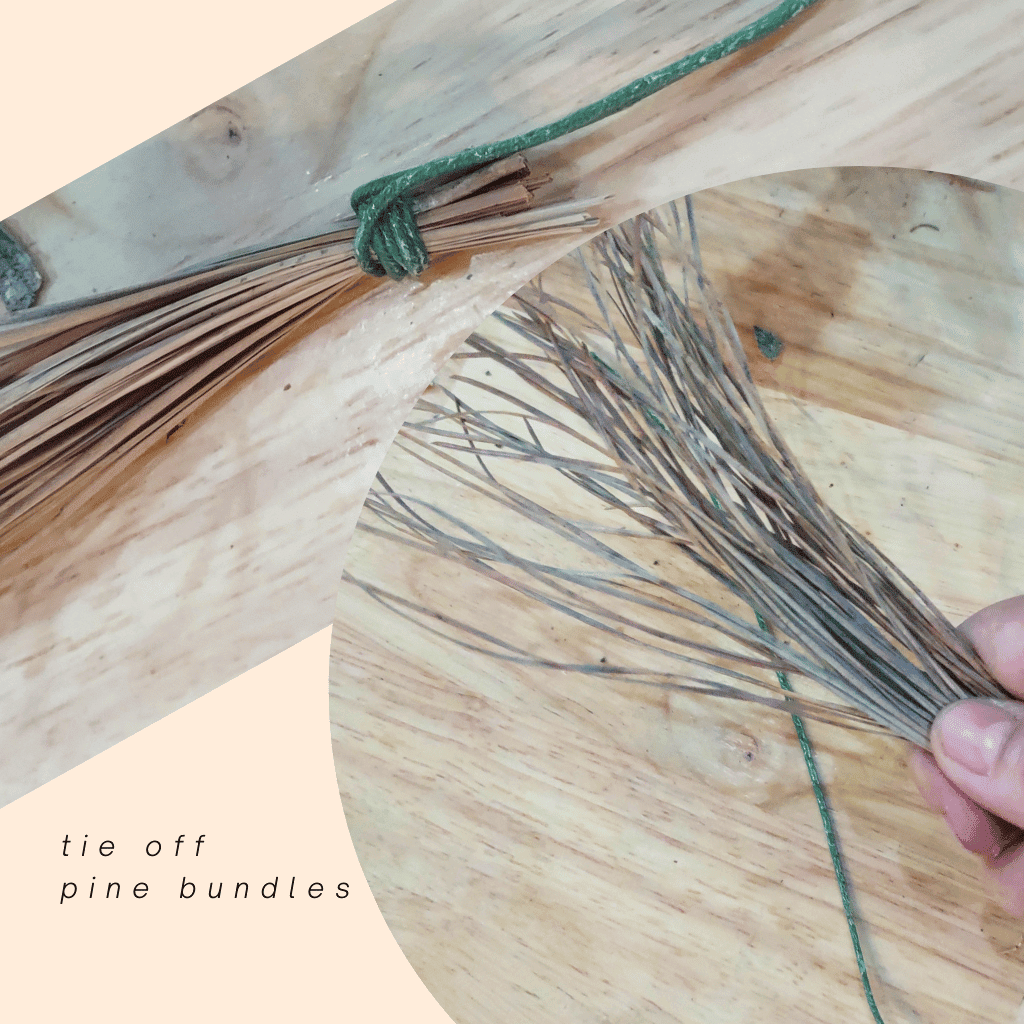
Adding Pine Needle Bundles
This next step is important to note because I used a coated
wire. You can buy this at craft stores or
even make your own using florist tape.
The benefit is this wire will keep the pine needles from
breaking when you wrap the base of each bundle. I made several and then hot glued them in place.
As you can see it did not take long for creativity to takeover and when finished I had a natural fall wreath. I thought it looked nice and a bit more seasonal than a plain white door.
After thanksgiving I will give it another lift for the holidays and bring it back for you to see the before and after.
It's my hope you enjoyed this project and perhaps you might be encouraged to
see what kind of wreath you can make from gathered materials found where you live.
Encouraging goodness,
Carole West


